
Blog
The residential energy efficiency industry has been using blower door testing since the mid 1980’s to measure the air tightness of homes. Since then, we’ve evolved from testing single family homes, to testing entire apartment buildings.

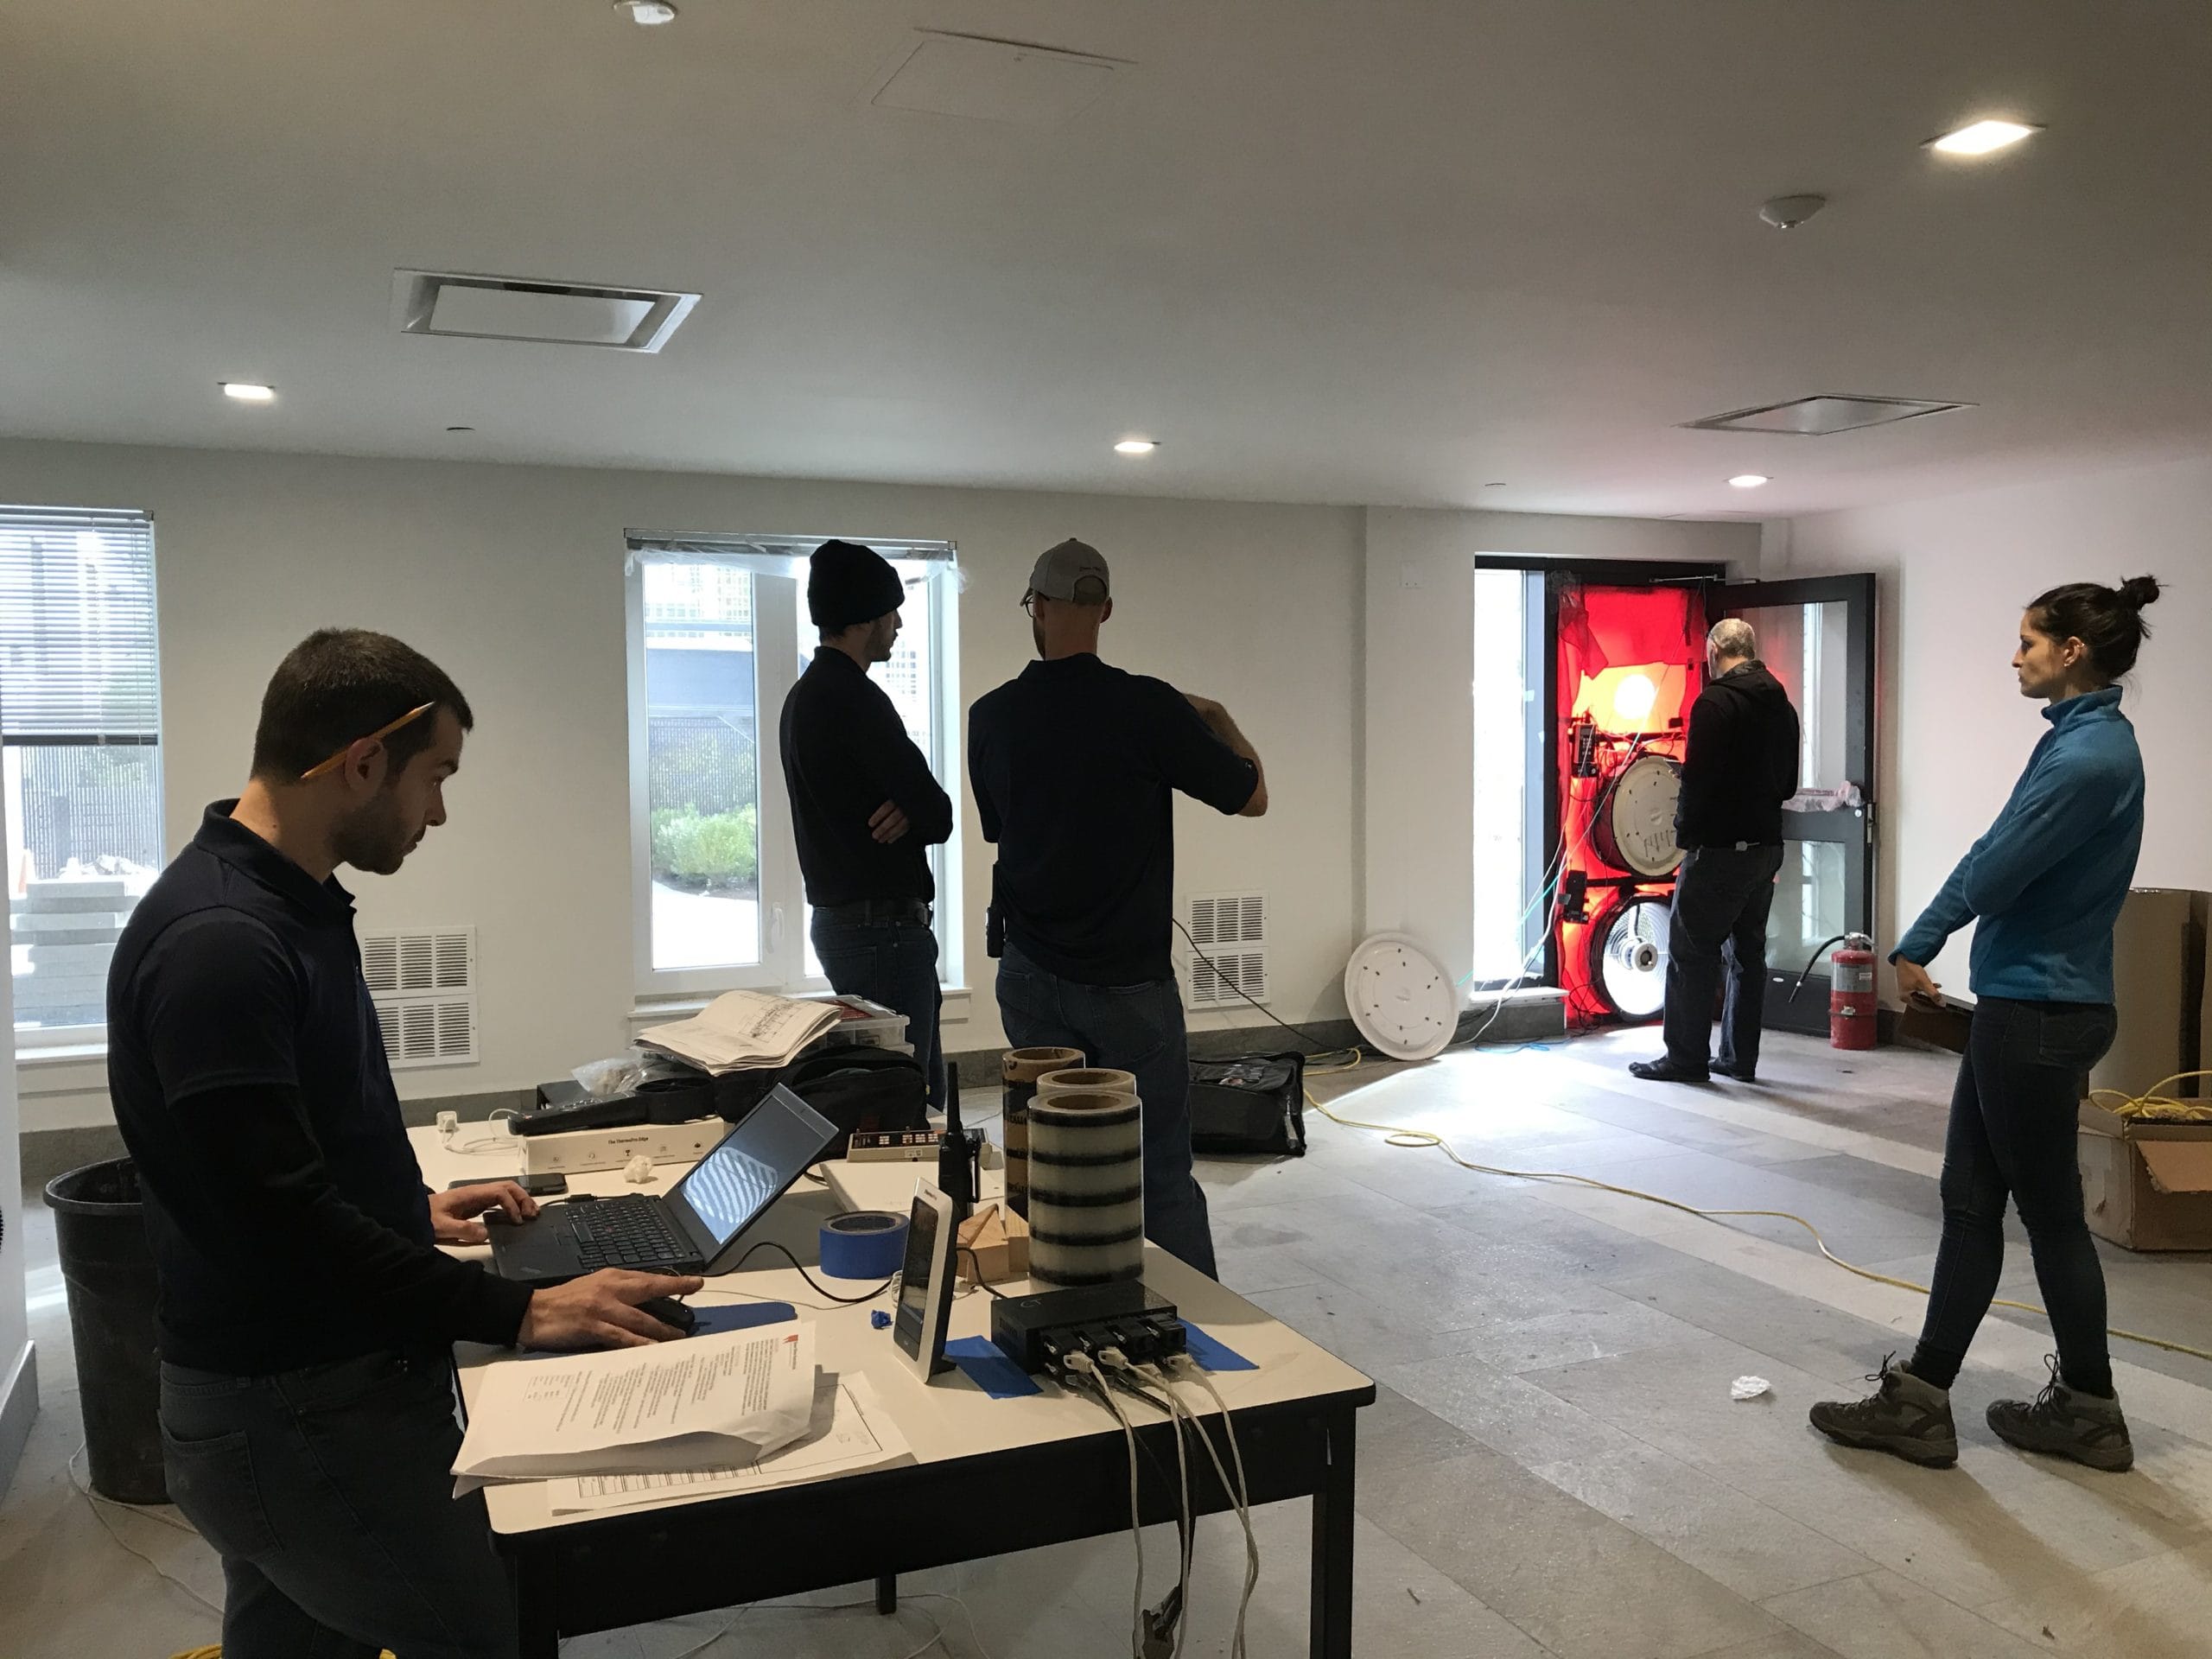
The residential energy efficiency industry has been using blower door testing since the mid 1980’s to measure the air tightness of homes. Since then, we’ve evolved from testing single family homes, to testing entire apartment buildings. The Passive House standard requires whole-building testing, as will many local energy codes, along with assembly testing. While the concept of – taking a powerful fan, temporarily mounting it into the door frame of a building, and either pulling air out (depressurize) or pushing air into it (pressurize) – is the same for buildings both large and small, the execution is quite different for the latter.
Commonly called a whole-building blower door test, we use multiple blower doors to create a pressure difference on the exterior surfaces of the entire building. The amount of air moving through the fans is recorded in cubic feet per minute (CFM) along with the pressure difference from inside to out in pascals. Since the amount of air moving through the fans is equal to the amount of air moving through the gaps, cracks, and holes of the building’s enclosure, it is used to determine the buildings air tightness. Taking additional measurements at various pressure differences increases the measurement accuracy and is required in standards that govern infiltration testing. Larger buildings usually test at a higher-pressure difference and express the leakage rate as cubic feet per minute at 75 pascals or CFM75.

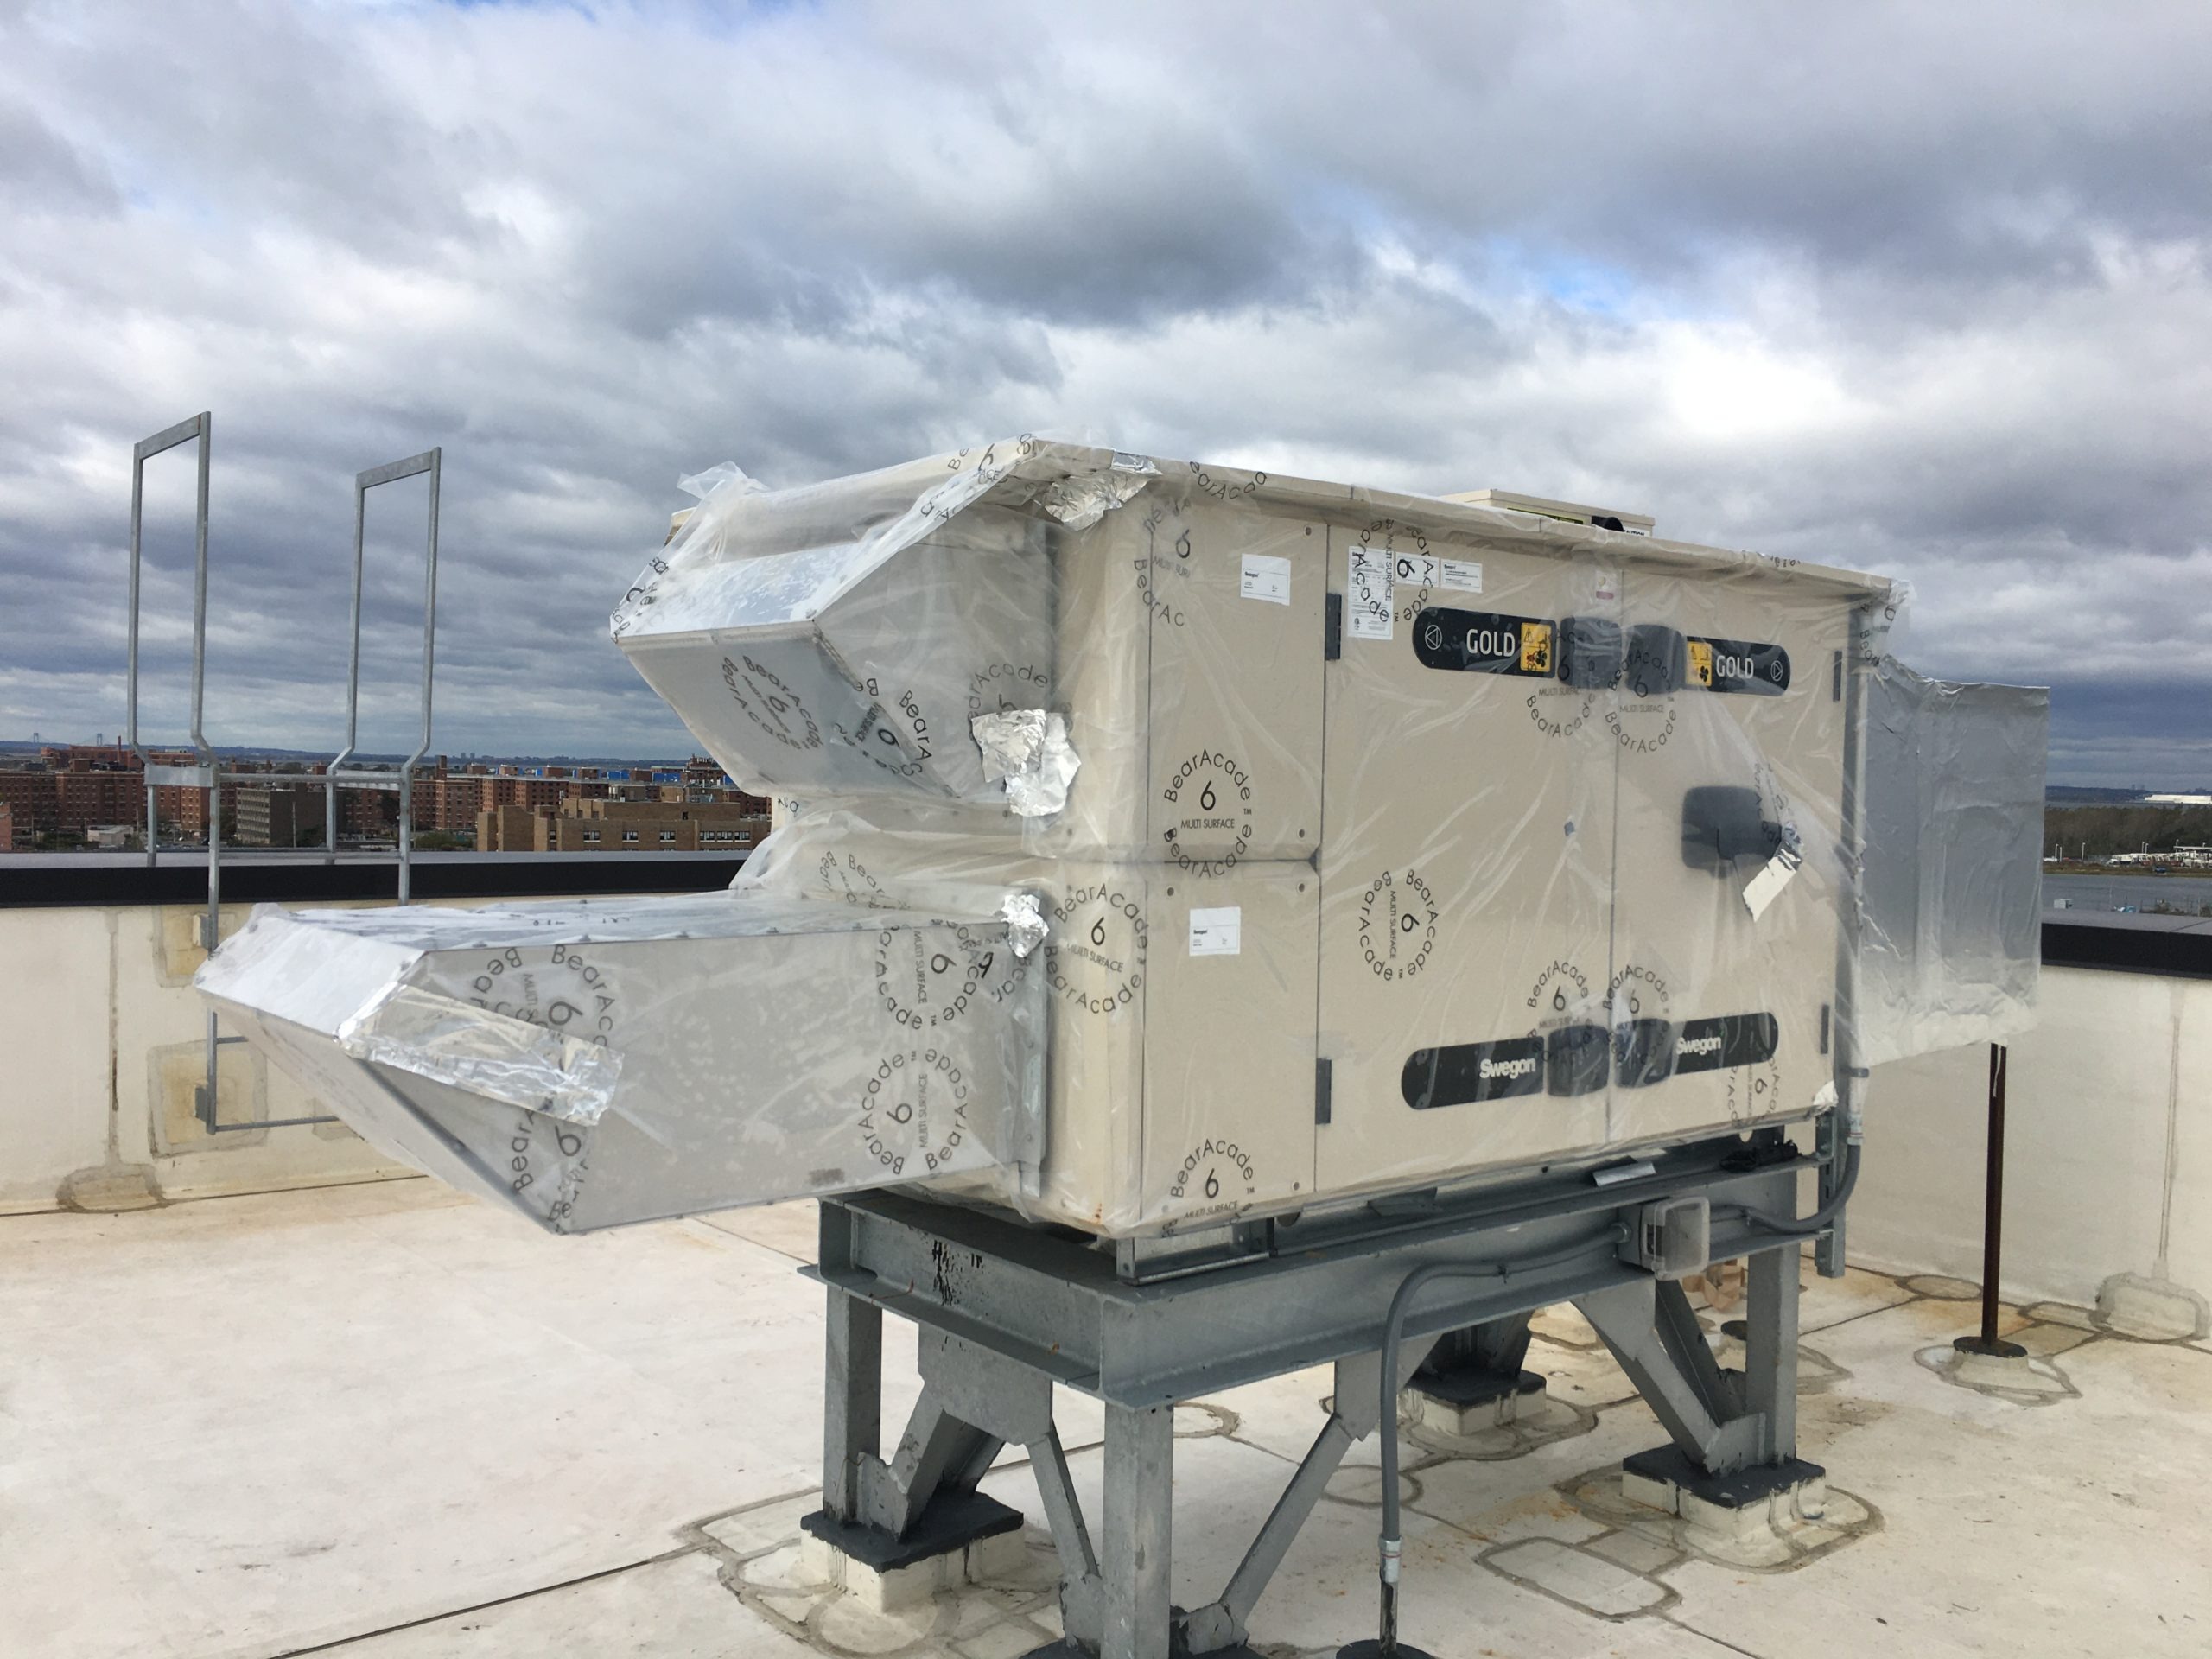
While multiple fans linked to a computer are needed to test a larger building, the bigger hurdle to overcome is more in the logistics and coordination of placing or “setting” a building in test mode. Larger buildings have larger pieces of ventilation equipment and need to be temporarily sealed for the test. In a single-family home, the tester might just turn off a bath fan and seal the opening with tape. In a multi-story building, a ventilator is usually on a roof and sometimes can’t easily be switched off and sealed. At Steven Winter Associates we create a blower door test plan that lists all the different openings in the enclosure, how it needs to be set for the test, and who’s responsible for setting it.
Table 2 – Sample test configuration of intentional openings and firm responsible for setting the opening
| Intentional Opening | Test Setting | Notes |
| Windows, doors, skylights in the building enclosure | Closed and latched | |
| Doors and operable windows inside the test enclosure | Open | Use stairways to connect all zones of the building |
| EF-1 (sump pump room) | Unit turned off, taped on the outside | Ventilation is continuous, so dampers closed and sealed |
| ERV-1 (roof) | Unit turned off, taped off inside the unit. | Ventilation is continuous, so dampers closed and sealed |
Key: GC/Builder, HVAC Contractor

All this coordination and setup takes time. An 80-unit apartment building usually takes at least a day or two for the contractor to prep the building. Setting up the fans and test equipment takes about a half day and running the test is another full day. Whole-building testing usually needs to happen when the building is substantially complete, but not yet occupied, because exterior doors and windows need to remain closed during the test. Contractors and trades can still work inside the building itself but cannot enter and exit during testing.
Infiltration testing first showed up in the Residential section of the 2009 International Energy Conservation Code (IECC) as an optional way to show compliance. It became mandatory following the 2012 edition when it required homes to have a measured leakage rate that doesn’t exceed 3-5 air changes per hour (at 50 pascals) depending on climate. Infiltration testing remains an optional pathway for commercial code compliance in both the 2015 and 2018 IECC. However, very few projects choose to actually test, opting instead to follow a prescriptive list within the code that defines what materials can be used as an air barrier along with requirements to seal them together at joints and transitions.
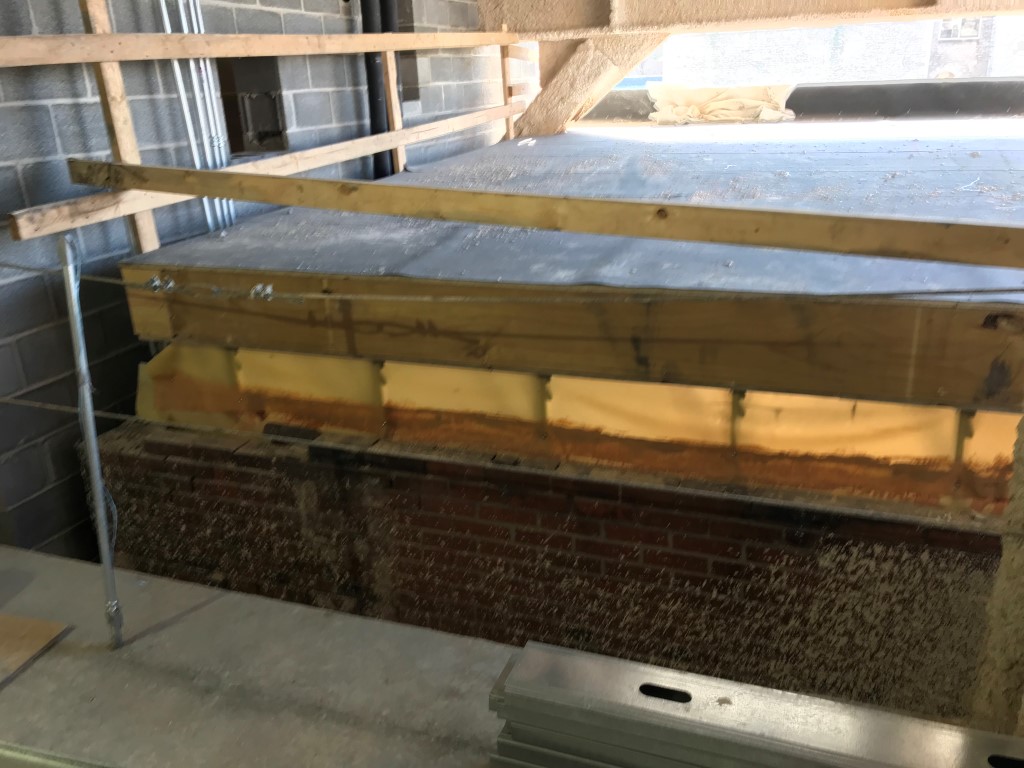
While section C402.5.1.1 of the IECC specifies the need to seal joints and transitions, it’s not really a complete list of problem areas to consider. Fully sealing each and every gap and crack is the hardest part to get right on any building no matter the size: Bridging the joint between two pieces of the same material is pretty straight forward; bridging two different material types is more difficult, but doable; sealing different materials as they change direction, is where it usually all comes apart at the seams.

In our experience, it’s very difficult to judge how well these more complex joints are actually performing as an air barrier without actually testing them. So, while air sealing is technically required by both the residential and commercial codes, only the residential industry actually needs to demonstrate that they delivered on the intent, which is a relatively air-tight building. The commercial side of the industry continues to rely on a network of code officials, contractors, and trades to not only understand exactly how the air barrier is supposed to be applied to each and every type of material out there, but also to ensure it is actually in-place before being covered by an interior or exterior finish that will hide it from view for the lifetime of the building.
Leaky buildings are not only uncomfortable and use more energy but can also be more prone to condensation forming within wall cavities where cold outside air bypasses an insulation layer. Using visual inspection techniques to verify whether an invisible gas will or will not move through a sealed joint will only get a building to a cursory level of tightness. A solely visual approach didn’t work all that well to reduce air leakage in residential construction and is even harder to implement on larger buildings that have more joints located on upper floors and other inaccessible areas throughout the building. If the intent of the code is to actually limit air leakage, then actual testing is likely the best way to achieve it.
An inside look at two successful blower door tests!
Contributor: Scott Pusey, Senior Sustainability Consultant
Steven Winter Associates